Installation Configuration Tool
The Installation Configuration tool is a web-based tool that enables you to provide values for the properties in the inventory template file and produces:
- An inventory file -
<filename>.yaml. - A environment state file -
<yaml filename>.state.json.
The environment state file is a JSON![]() JavaScript Object Notation. JSON is a lightweight format for storing and transporting data, often used when data is sent from a server to a web page. file that is a snapshot of the inventory file that is being produced. It is created when you create an inventory file and then uploaded to the tool when you upload that inventory file. The environment state file is only required for advanced use of the installer and can be ignored unless MDS Global provides specific instruction to the contrary.
JavaScript Object Notation. JSON is a lightweight format for storing and transporting data, often used when data is sent from a server to a web page. file that is a snapshot of the inventory file that is being produced. It is created when you create an inventory file and then uploaded to the tool when you upload that inventory file. The environment state file is only required for advanced use of the installer and can be ignored unless MDS Global provides specific instruction to the contrary.
Preparing an Inventory File with the Installation Configuration tool
To prepare an inventory file using the Installation Configuration tool, follow these steps:
-
Access the tool via the URL: https://inventory-config.cmp-docs.com.
The tool is password protected. Use the same cmp-docs.com Google account
 In the Cloud Monetisation Platform, a billing entity that can be used to manage payments on one or more subscriptions or payments for services. An account can hold details such as payments or invoices. used to access the CMP Converged Monetisation Platform. The MDS Global product that supports customer care and billing for digital service providers. Documentation set.
The tool opens in the browser.
-
To create a new inventory file, click New.
The New Inventory dialog opens.
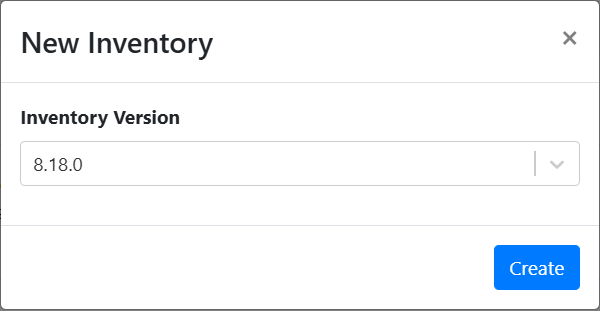
- Select the CMP release version for which to create an inventory file from the Inventory Version drop-down list, and then select Create.
The MDS Global CMP Installation Configuration tool opens. On the left is a navigation pane with links to configure each of the components of CMP, for example CMP Database, JBoss
An open-source, cross-platform Java application server developed by JBoss, a division of Red Hat Inc. JBoss AS is an open-source implementation of Java 2 Enterprise Edition (J2EE) that is used for implementing Java applications and other web-based applications and software. JBoss is an open source alternative to commercial offerings from IBM WebSphere and SAP NetWeaver. Enterprise or AgentView The graphical user interface of the CMP that is typically used by Customer Service Agents to access CMP customer and billing data. In versions prior to CMP 8.0, this was called the CMP GUI.. The list of components reflects the table of CMP Groups. On the right are the properties, for which you can enter values.
- Define the Global Properties.
- Enter the property values for the component. Enter a value for a property as follows:
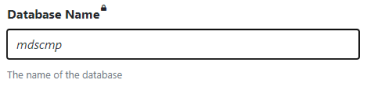
For a text value, such as a hostname, database name or URL, enter the text in the field.

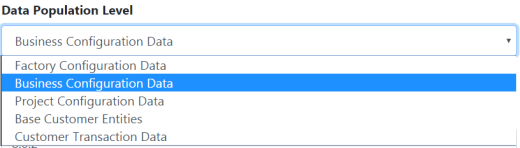
To choose from a set of predefined (enum) values, select from a drop-down list.
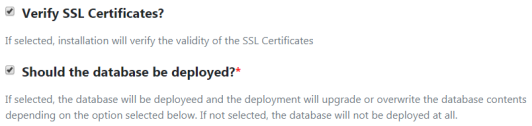
To set a property to true/false or enable/disable, select or deselect a checkbox.
When entering a masked property, such as a password, you can toggle the mask/unmask icon to reveal and check your entry.

- Click the Advanced Properties link at the bottom of the Global Properties screen to expand the Advanced Properties list to update the advanced properties.
Once you have completed the Global Properties screen, click the Hosts link on the left-hand pane.
Enter the host name on which the selected CMP component will be installed (selected from the Software drop-down list to the right of the Host field).
You must specify at least one host per CMP component. To remove a host, click the corresponding Delete
 icon.
icon.- Next, click the CMP Database component link on the left-hand pane to add the relevant properties.
- Repeat the steps to enter values for all CMP components until everything is configured.
- Select AgentView from the left-hand menu. Select Advanced Properties to configure the branding. The standard CMP font and branding is deployed by default but this can be overwritten by changing the default font, colour, background images, and so on, and/or by uploading customer In the context of the Cloud Monetisation Platform, an individual or organisation who has signed an agreement to take goods and services from a service provider. A customer receives a bill associated with one or more subscriptions, and can be a single end user or a large company with many subscriptions assigned to one agreement. specific branding.
-
Click Save.
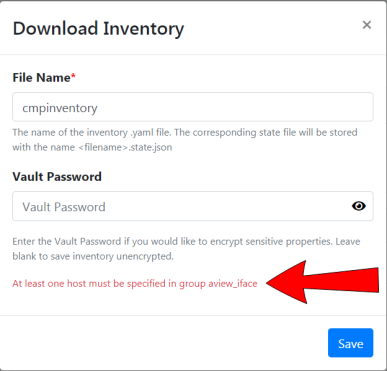
The Download Inventory window is displayed.
-
Enter a name for the inventory file.
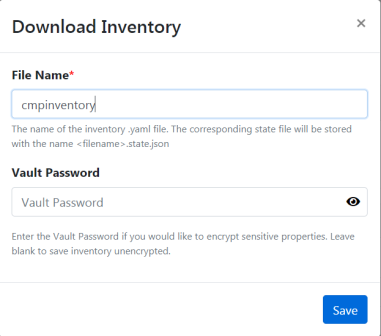
The inventory file will be saved as
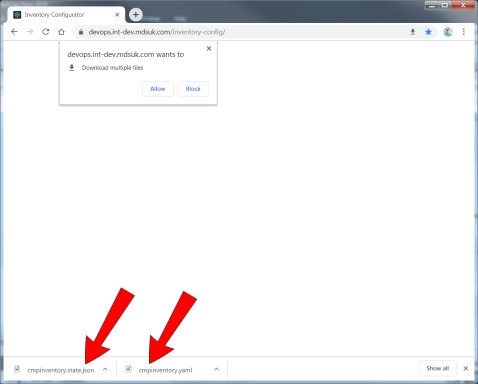
<filename>.yaml. The corresponding environment state file will be saved as<filename>.state.json. - To encrypt properties in the file, enter the vault file password.
-
Click Save.
The file is validated. An error message will alert you to any issues.
- Fix any issues and save the file.
- The final step is to copy the inventory file to the Ansible control server and use it as part of the installation process, following the instructions in Deploy CMP.
For a description of the properties for each component, see the relevant topic in this section. The explanatory on screen text will also help you. Default property values are pre-filled.
The colours of the fields are also a guide:
Mandatory property fields are highlighted in red:

A property field that has the focus is highlighted in blue:

A property field for which you have entered a value is highlighted in green:
A hardcoded value is highlighted in black:
The files are saved to your Downloads folder.
Working with an Existing Inventory File
To upload and edit an inventory file that was created previously with the tool, follow these steps:
-
Open the Installation Configuration tool and click Load.
The Load Inventory window is displayed.
- To Select an Inventory File, click the corresponding Browse button.
- Navigate to the inventory file and select it.
-
Select the corresponding environment state file.
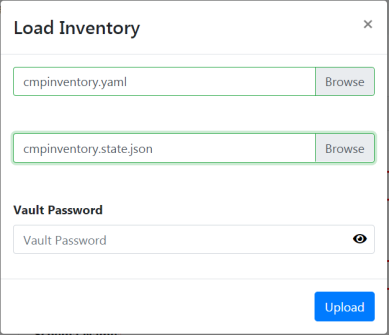
- If the file is encrypted, enter the Vault Password.
-
Click Upload.
The file is uploaded and the tool uses the environment state file to detect whether the inventory file has been changed outside of the tool or whether it differs from the model embedded in the tool. Property values that are different are highlighted in yellow:
- Edit the inventory by entering property values as described in Preparing an Inventory File with the Installation Configuration tool
- Save your changes.